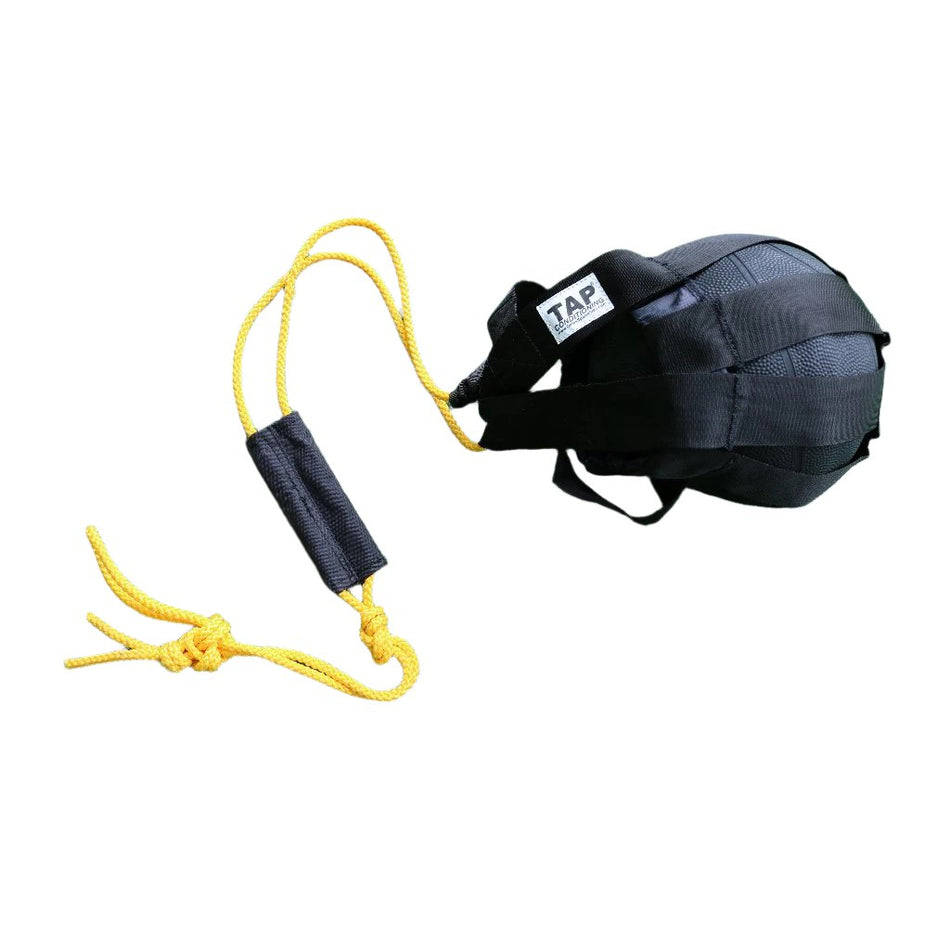
9" Exercise Bands: Compact Arm-Care and Lower-Body Activation for Pitchers
Executive Summary
Most pitchers show up carrying half their life—backpack, glove, turfs or cleats, a couple of balls, maybe a weighted ball and a hoodie stuffed in the side pocket. The tools that often matter most for how their arm feels, though, are the small ones that disappear into a pocket. A single 9" TAP® Exercise Band takes up less space than a game ball, but it can quietly become the backbone of a pitcher's arm‑care routine—before the first pitch, between long innings, and on the way home.
This guide shows coaches and pitchers how to use one compact loop band around the wrists and ankles to warm up, help the lower half share the load, keep the arm hot between innings, and cool down without adding bulk to the bag or complexity to the routine. Unlike longer dynamic tubing that challenges the full arm path under tension, the 9" loop is there to activate and bring movement awareness, not to replace strength work or your tubing program.
Why 9" Bands Make Sense for Pitchers
Coaches are juggling time, space, and budget. A 9" loop band helps with all three.
- Compact and easy to carry. Pitchers can keep a band in a pocket or bag and have it ready in the bullpen, dugout, or bus—no fence, door anchor, or extra hardware required.
- Team‑friendly cost. One 9" band—even in two different strengths for wrist and ankle work—typically costs less than a single quality game ball, so it's realistic to give every pitcher and catcher their own.
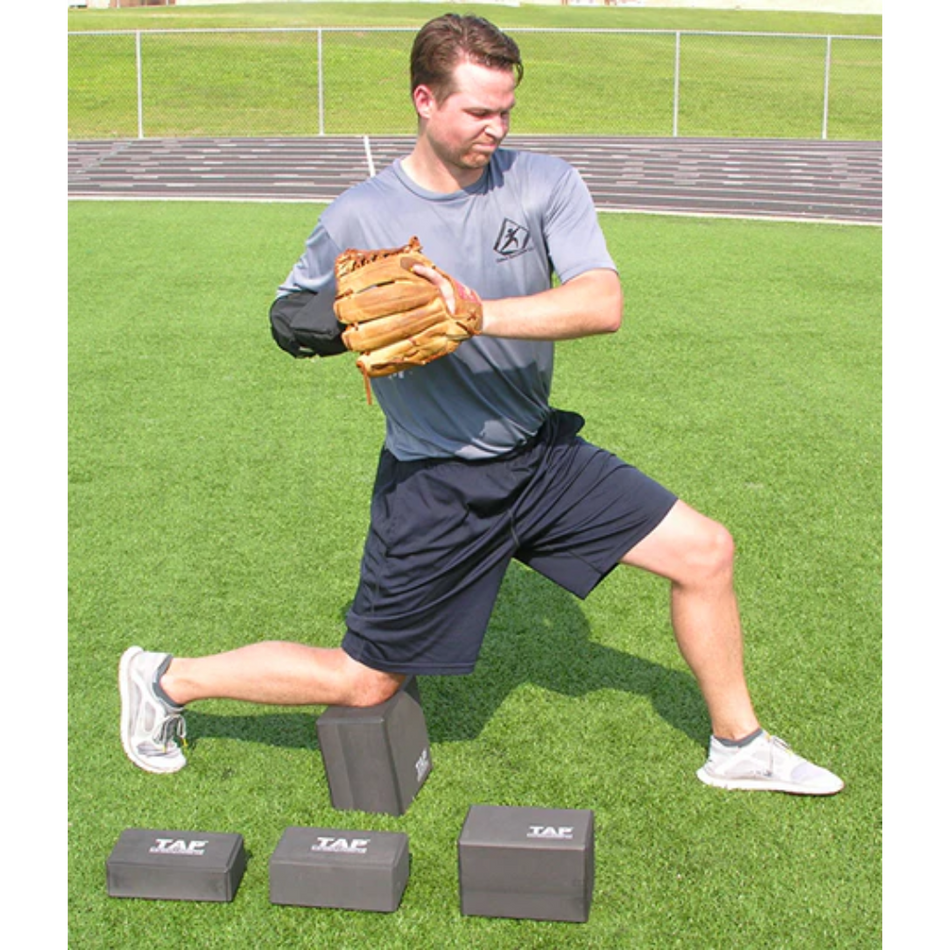
- One tool, two placements. The loop can live at the wrists for quick shoulder and scap patterns, then drop to the ankles for a short burst of lower‑half activation.
- Simple to plug into what you already do. A band block can sit between dynamic movement and throwing, between light catch and the bullpen, and even between innings without blowing up your timeline.
The goal of the band isn't to struggle through a lift, but to prime the body for better movement by ensuring the right muscles are firing and stabilizing from the start.
Wrist Placement: Simple Shoulder and Scap Prep
Think of wrist-level band work as the "neuromuscular organization" required to stabilize the shoulder blades and upper back before the arm is asked to accelerate.

Why coaches use it:
- Pitching is a full‑body movement, but the shoulder still has to accept and pass along a lot of force.
- When the shoulder blades move and set better on the rib cage, the arm usually finds cleaner positions and tends to feel better as the outing goes on.
At the wrists, keep the band light. If the neck is grabbing, ribs are flaring, or the motion gets choppy, the band is too heavy.
Wrist‑level patterns that play well on the field:
-
Band wall slides
Player is facing the wall with hands and elbows pushing into the wall, band around wrists, elbows bent about 90 degrees. Gently push out on the band and slide the arms up and down the wall, keeping ribs down. The cue is "smooth shoulder blades, quiet neck," not "reach as high as you can." -
Clock pulses
Athletic stance, band around wrists. Reach the hands forward, pretend the hands are on each side of a clock. The hands move out away from each other hitting the numbers of the clock. 3-9, 2-8, 1-7, and back up 4-10, 5-11, & 12-6 -
Low‑level plank or crawl work
In a tall plank or on all fours, band around wrists. Take small step‑outs with the hands to the side or forward/backward while keeping the chest stable and breathing quiet. This gives you low‑risk shoulder‑girdle work with the trunk heavily activated.
For most pitchers, 1–2 sets of 8–12 smooth reps per pattern or 20–30 seconds of continuous, controlled movement is plenty before tubing and throwing. The 9" loop sets the table; tubing and throwing still do the heavy lifting.
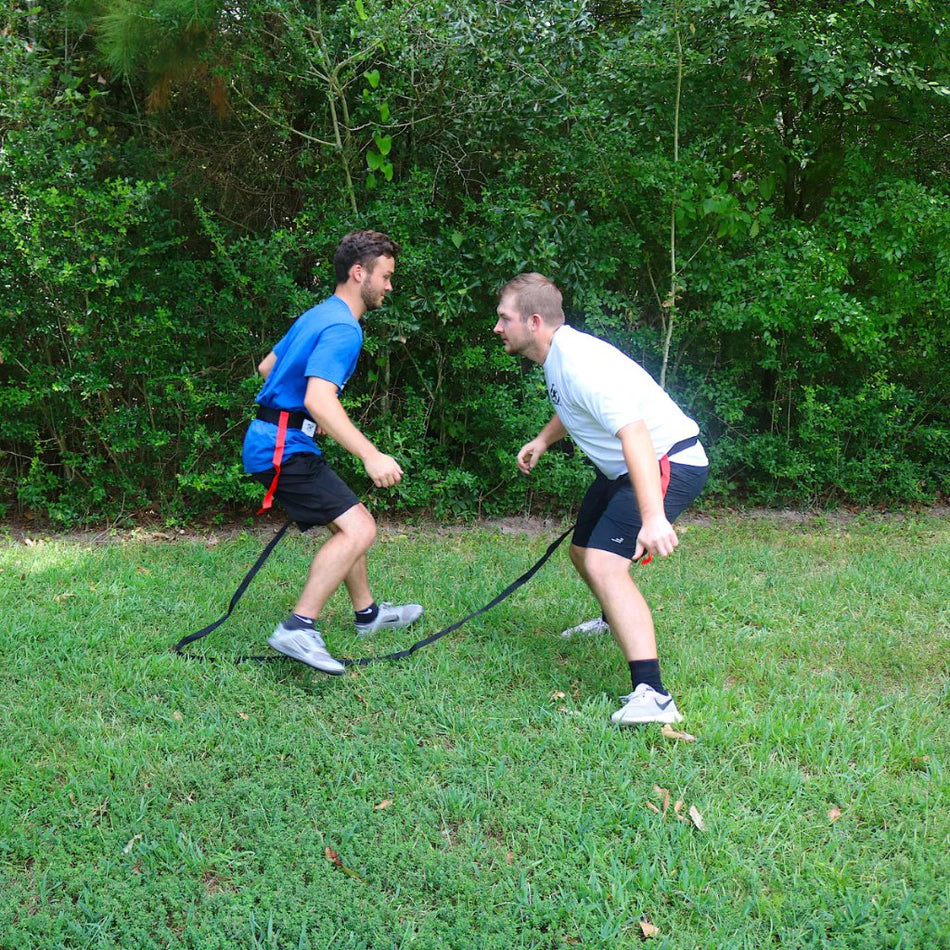
Ankle-Level Activation: Helping the Lower Half Share the Load
If the lower half doesn't do its job, the arm ends up doing someone else's work. Most kinetic-chain research and pitching breakdowns point to the same idea: when the stride leg can't accept and control force, or the front side leaks early, the shoulder becomes the final compensator.
Ankle-level work with a 9" band is not a leg workout; it's a way to wake up the abductors and glute medius—essential stabilizers that are often overlooked. By activating this musculature, you remove the "slack" from the system, giving the athlete better awareness and feel as they progress through the delivery. This ensures the lower half can effectively produce, transfer, and accept force, eventually allowing that energy to shoot up safely to the arm once the legs stop the forward movement.

Ankle-level patterns help pitchers feel:
- How the abductors and glute medius prime the stride leg to accept and stabilize weight.
- How a "pre-activated" front side stays firm and efficient instead of folding early.
- How the trunk stacks over a stable, active base before the arm accelerates.
Because the hips and legs are stronger than the small muscles around the shoulder, most coaches will start with a light band at the wrists and then step up roughly one resistance level at the ankles. If the pitcher has to lean, wobble, or lose posture to move, the band is too heavy—drop back down.
Field-tested ankle-level patterns:
Lateral Walks and Shuffles: Glute Medius & Stride-Leg Stability
Place the band around the ankles and move through small side steps in an athletic stance. Focus on "owning the hip" by activating the abductors to stabilize the pelvis. The goal is to feel the musculature catch and hold the force upon landing, ensuring the lower half remains a rigid platform rather than "leaking" energy out of the side.
Crossover and Drop-Step: Loading and Unloading Mechanics
Perform short crossovers and drop-steps in the throwing direction with the band at the ankles. This pattern forces the glutes to actively load against the resistance and then "unload" as you move into the next phase. By removing the slack in the hips, you create a more responsive connection between the ground and the torso, allowing for a more explosive transfer of force.
Short Box or "L" Walks: Multi-Directional Force Acceptance
Move forward, sideways, and back in a small box or "L" pattern. This is a total-body check to see how the lower half accepts force from multiple angles while keeping the trunk tall and the glutes engaged. It trains the athlete to maintain a stable base during the subtle direction changes inherent in a high-velocity delivery, ensuring the system is organized before the arm begins its path.
Run each pattern for 10–20 seconds or a couple of short trips in each direction. The band should remind the lower half how to engage and transfer energy, not leave the legs feeling heavy before hitting the mound.
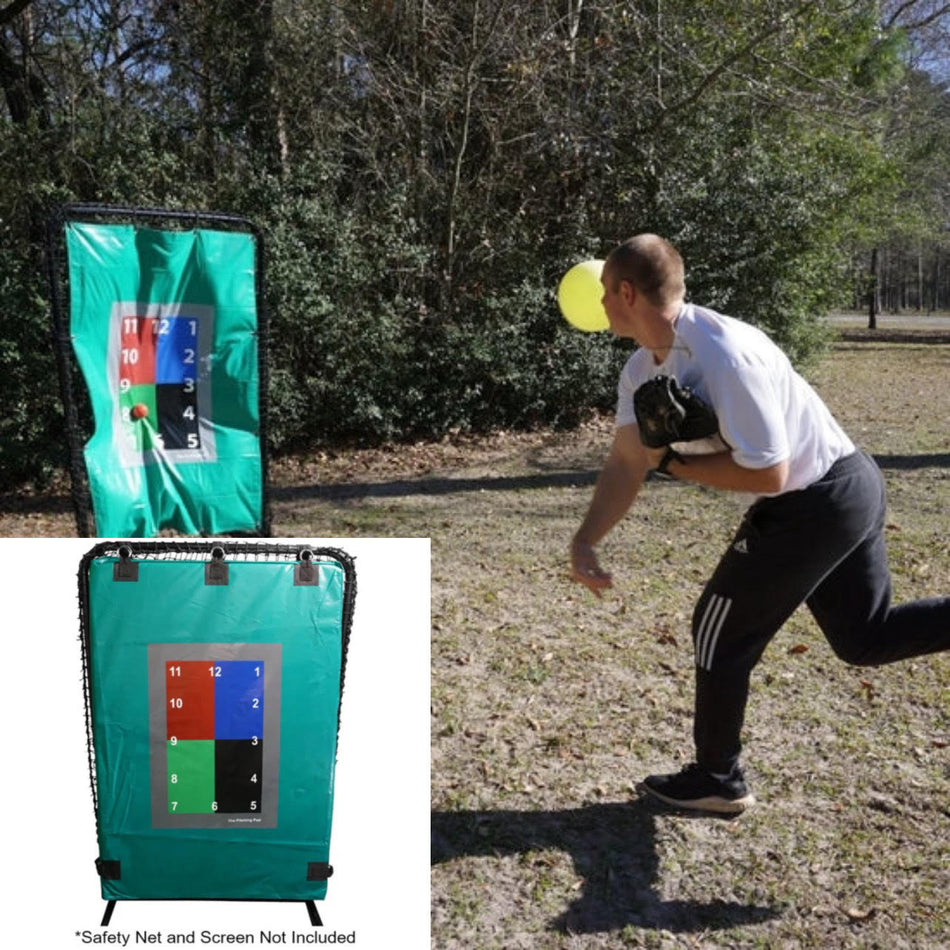
Using Bands Between Innings (Especially Long Ones)
The longer an inning drags—long at‑bats, rallies, mound visits—the easier it is for a pitcher's arm to cool off while on the bench. Most good pitching coaches talk about keeping the arm hot (warmed-up) between innings with light, regular movement instead of letting it shut down.
A pocket‑sized 9" band gives pitchers an easy way to do that without leaving the dugout.
Smart between‑inning use:
- Once the pitcher sits, mix in 30–60 seconds of very light band work:
- A quick round of clock pulses with a light wrist band.
- A handful of easy band pull‑aparts or wall slides if there's a nearby wall.
- A short set of ankle‑band side steps if space allows and the pitcher likes the feel.
- Keep the effort low. This is about circulation and reminding the body of good positions, not sneaking in extra training.
- On especially long innings, that brief band block—combined with light walking, a few arm circles, and a couple of easy tosses—can make the first pitch of the next inning feel less like a cold start.
You're not forcing movement; you're keeping the whole chain gently awake.
Simple Game‑Day Flow With a 9" Band
Here's how a band can wrap around what you already do without taking over the day.
Before the game (5–8 minutes with the band)
-
General movement (1–2 minutes)
Easy jog, skips, shuffles, and trunk rotations to raise temperature and get joints moving. -
Wrist‑level band work (3–4 minutes)
- 1–2 sets of wall slides (8–12 reps).
- 1–2 sets of clock pulses (10-20 seconds).
- Optional: one quick plank‑style pattern (15–20 seconds).
-
Ankle‑level band work (2–3 minutes)
- A short round of lateral walks.
- One small set of crossover or drop‑step steps each way.
-
Then tubing and throwing
Move straight into your normal tubing series and catch‑play build‑up. The band work should make those throws feel smoother and more connected.
Between innings
- Stay lightly active—walk the dugout, move the arm, and in especially long innings, hit a brief band check‑in:
- 20–30 seconds of light clock pulses or pull‑aparts.
- A few light ankle‑band side steps if the pitcher responds well to them.
After throwing (cool‑down)
- If you use the band at all after an outing, keep it slow and easy:
- Gentle, small‑range wrist‑band motions with no strain.
- No fast "machine‑gun" shaking; the goal now is to move and breathe, not to fire things up.
- Follow with low‑intensity movement and whatever recovery work your program already trusts.
Safety and Practical Coaching Guidelines
- Pick band resistance so the pitcher can move smoothly without shrugging, arching the back, or wobbling. If you see that, the band is too heavy or the drill is too complex—simplify.
- Any sharp, odd, or localized pain is a firm stop sign. Band work should feel like "waking things up," not like fighting through discomfort.
- The band supports your arm‑care plan; it doesn't replace good strength work, a smart throwing progression, or medical care when something isn't right.
Small tools don't have to produce small results. Used well, a 9" loop band helps pitchers organize their shoulders and lower halves, stay warm between innings, and protect their arms—without adding more weight to the bag or more noise to the routine.
Annotated Bibliography – 9" Exercise Bands for Throwers
(All URLs verified active as of Feb 2026; competitor products/pricing removed)
1. Seroyer, S. T., et al. The Kinetic Chain in Overhand Pitching: Its Potential Role for Performance Enhancement and Injury Prevention. Sports Health.
Provides a detailed overview of how forces are generated and transferred from the lower body through the trunk to the arm in pitching, highlighting how breakdowns in stride‑leg function or trunk rotation can increase shoulder stress. This underpins the article's "lower half shares the load" and stride‑leg/ front‑side emphasis.
URL (full‑text PMC version): https://pmc.ncbi.nlm.nih.gov/articles/PMC3445080/
Journal abstract: https://journals.sagepub.com/doi/abs/10.1177/1941738110362656
2. Seroyer, S. T., et al. The Kinetic Chain in Overhand Pitching: Its Potential Role for Performance Enhancement and Injury Prevention. (PDF mirror).
A PDF mirror that illustrates key mechanical checkpoints (stride foot position, trunk tilt, timing) and explicitly links kinetic‑chain breakdowns to higher arm demands, reinforcing why ankle‑ and lower‑body organization matter in arm‑care discussions.
3. LER Magazine. Lower Body Mechanics Bolster Overhead Throws. Lower Extremity Review.
Reviews how the lumbopelvic‑hip complex and lower extremity can contribute a large share of the kinetic energy in overhead throws and notes that reduced lower‑body contribution forces the shoulder to work harder to maintain ball speed. This supports framing lower‑half band work as arm‑protective via load sharing, not just "leg strength."
URL: https://lermagazine.com/article/lower-body-mechanics-bolster-overhead-throws
4. In Motion Physical Therapy. Scapula Workouts for Baseball Players.
A practitioner article outlining practical scapular control drills for baseball players, including band‑based wall slides and reach patterns. It reinforces the use of light bands at the wrists for scap and shoulder‑girdle organization as part of pre‑throw routines.
URL: https://inmotionptny.com/scapula-workouts-for-baseball/
5. Oates Specialties. TAP® Exercise Bands – Resistance Training for Warmups & Strength.
Official product page describing TAP 9" Exercise Bands, including their construction and use around wrists and ankles for upper‑ and lower‑body warm‑ups, mobility, and light strength/endurance work. In the article, it is used to support neutral technical claims about form factor, typical placements, and team‑friendly practicality.
URL: https://oatesspecialties.com/products/exercise-band-warmup
6. Oates Specialties. TAP™ Exercise Band | For Warming Up/Strengthening the Upper/Lower Body. (Video)
Short product video demonstrating TAP Exercise Bands in use at different placements. It visually supports the idea that one compact loop can serve both wrist‑level arm‑care patterns and ankle‑level lower‑body activation for throwers.
7. ProHealthcareProducts. TheraBand Colors Sequence Resistance Levels.
Explains typical resistance levels for TheraBand colors and how pull force increases with each color step at a fixed elongation. Used conceptually to justify recommending lighter bands for wrist work and stepping up roughly one band level for ankle patterns, while still emphasizing quality of movement over chasing a specific color.
URL: https://www.prohealthcareproducts.com/blog/theraband-colors-sequence-resistance-levels/
8. MVS In Motion. Understanding Resistance Band Colours & Elongation – A Guide for Professionals.
Describes how resistance band color, elongation, and force relate, and recommends matching band level to the muscle group and movement. Supports the general guideline that upper‑body placements use lighter resistance while larger lower‑body muscle groups can tolerate a modest increase, provided movement stays clean.
9. Versus. Stretching and Arm Care Routine.
Outlines an arm‑care routine that integrates stretching and band work for throwers, illustrating how elastic tools can sit between general movement and throwing in a game‑day sequence, similar to the Prepare section of the article.
URL: https://versus.co/learn/stretching-and-arm-care-routine
10. Clutch PT. The Perfect Dynamic Warm-Up for Baseball Players.
Presents a model dynamic warm‑up flow for baseball, including general movement and progressive preparation. The article's band block is designed to fit cleanly within this kind of warm‑up rather than replace it.
URL: https://www.clutchpt.com/blog/2020/the-perfect-dynamic-warm-up-for-baseball-players
About This Analysis
Created by the Oates Specialties team led by Robert Oates, M.Ed., Founder
Editorial oversight by Gunnar Thompson, BS, CSCS, General Manager
Certified Strength & Conditioning Specialist | Biomechanics Specialist
February 2026
Complete Credentials
ROBERT OATES, M.Ed., Founder: Founded Oates Specialties in 2003. Master of Education degree. Provides strategic direction for educational content and athlete development philosophy.
GUNNAR THOMPSON, General Manager: BS Kinesiology (Clinical Exercise Science). CSCS (NSCA), PES (NASM), CPPS certifications. Technical authority on biomechanics and performance science. Conducts review of all educational content for scientific accuracy.
Questions or corrections: gunnar@oatesspecialties.com