Introduction
If you play baseball, coach a team, or have a child who loves the game, you know how crucial a healthy throwing arm is. Unfortunately, arm pain is incredibly common. Studies have shown that around half of young pitchers experience arm pain each season, and even professional pitchers face a significant chance of arm injury each year.
At Oates Specialties, we understand the dedication it takes to excel in baseball. That's why we've put together these straightforward arm care strategies based on what the latest science tells us. We've taken the key principles championed by renowned pitching experts like Ron Wolforth (Texas Baseball Ranch) and Randy Sullivan (Florida Baseball ARMory) and combined them with research to create a practical, low-tech approach to keeping arms healthy and strong.
This isn't about fancy gadgets or quick fixes. It's about understanding the demands of throwing and consistently applying simple strategies to protect your arm. We'll show you how you can use readily available, low-tech tools (some of which we offer here at Oates Specialties) to address the factors that matter most for arm health.
The Science Behind Strong, Healthy Arms
Years of research have given us a clear idea of what happens to a pitcher's arm and body during throwing and what steps can be taken to prevent injuries. Here are some key takeaways from that research:
- Shoulder Movement Matters: Pitching puts a lot of stress on the shoulder joint. Studies consistently show that pitchers often lose some of their ability to rotate their shoulder inward during a season. This loss of motion, especially if it's significant, has been linked to a higher risk of injury. Think of it like this: if your shoulder can't move freely, other parts of your arm have to compensate, which can lead to problems.
- It's Not Just the Arm: While the arm is doing the throwing, the power and stress actually start from the ground up. Research has found that a large percentage of the force on the elbow during a pitch comes from the rotation of the torso. Poor control and movement in the hips and core can put extra strain on the arm. Imagine trying to throw a ball while standing on an unstable surface – your arm would have to work much harder to compensate. Strengthening the core and improving body mechanics helps transfer energy efficiently, reducing stress on the arm.
- How Much You Throw and How Hard Matters: It's not just about counting pitches. Research has shown that throwing fastballs puts more stress on the arm than slower pitches. Also, rapidly increasing how much or how intensely you're throwing over a short period significantly increases the risk of injury. Our bodies need time to adapt to increased stress. Think of it like gradually increasing the weight you lift at the gym – doing too much too soon can lead to injury.
- What you do after throwing is just as important as what you do before. The few hours right after throwing are crucial for your arm to repair itself. While icing can help with pain in the short term, research suggests that active recovery methods, like gentle movement, might be better for long-term tissue repair. Techniques that promote blood flow can also help the recovery process.
Arm Care Tools: Simple Strategies for Healthy Arms
Based on these scientific findings and the practical wisdom of experts like Ron Wolforth (Texas Baseball Ranch) and Randy Sullivan (Florida Baseball ARMory), here are simple processes you can implement using readily available, low-tech tools.
Component 1: Keeping Your Shoulder Moving Well
- The Need: Maintaining good shoulder rotation throughout the season is crucial for preventing injury.
- Tools from Oates Specialties (Optional):
- Sheathed Resistance Tubing: A simple resistance tubing with a protective covering for strengthening the muscles around the shoulder.

- Connection Ball: Helps you feel the correct path of your arm during movements.

- Throwing Club: Can assist in developing proper arm slot and rotation.

- What to Do:
- Daily Posterior Capsule Stretch: Gently stretch the back of your throwing shoulder daily. A common stretch is the "Sleeper Stretch," where you lie on your throwing side with your arm bent and gently push your forearm towards the ground.
- Sheathed Resistance Tubing Exercises (daily before and after activity): Use a resistance tubing with a protective covering to perform simple exercises like external and internal rotation to keep the rotator cuff muscles strong and balanced.
- Connection Ball and Throwing Club Drills (before throwing): Use a connection ball and throwing club to reinforce proper arm positioning.
Component 2: Optimizing Your Body Movement (Kinetic Chain)
- The Need: Generating power efficiently from your lower body and core reduces the stress on your arm.
- Tools from Oates Specialties (Optional):
- Connection Club: Helps reinforce a repeatable arm path during a throw.
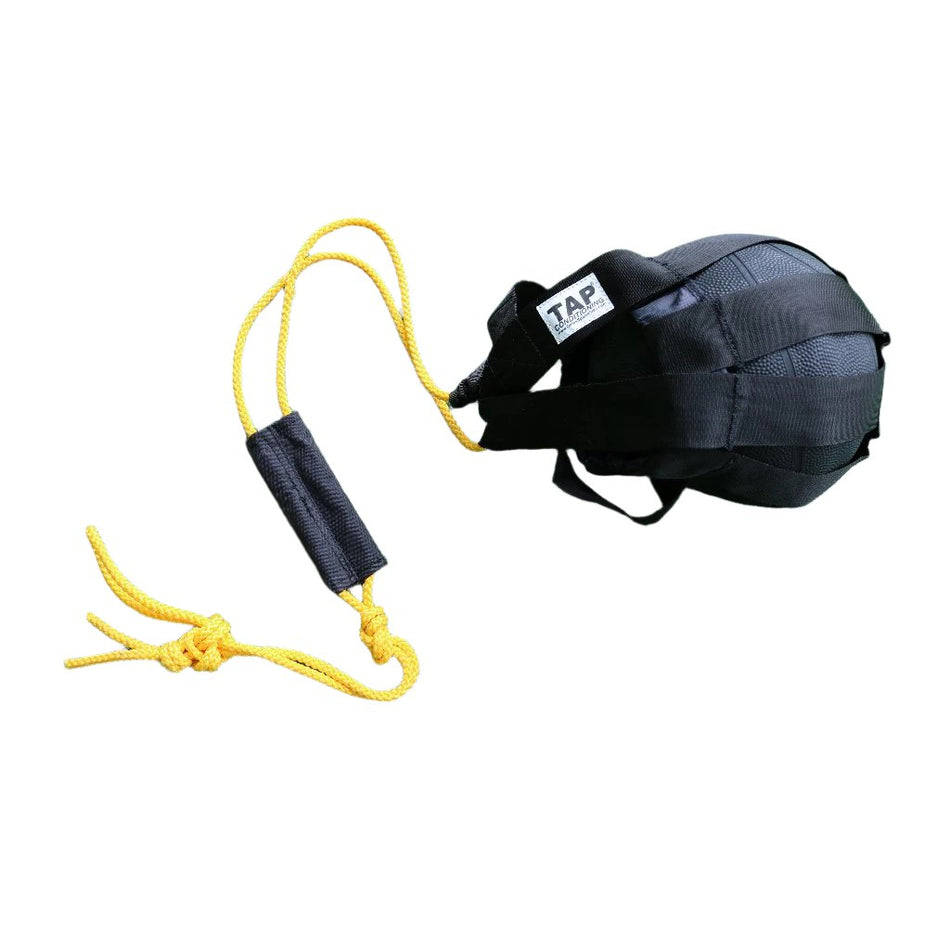
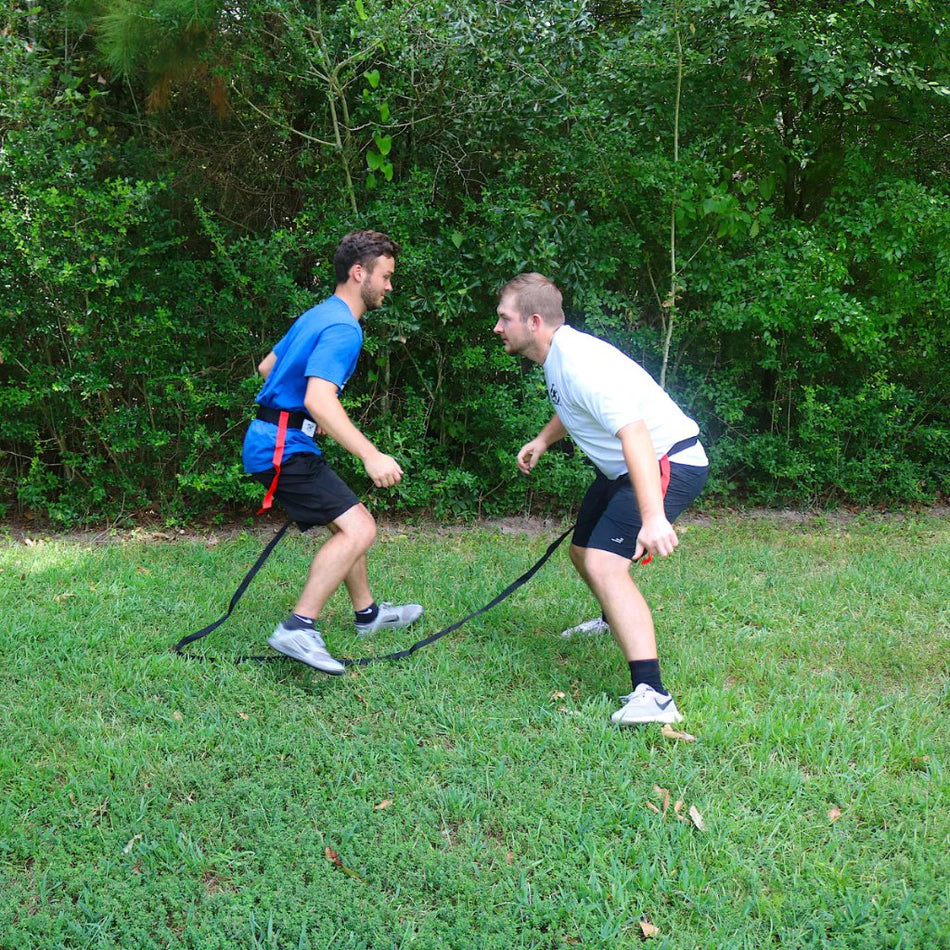
- Donley Hip Spin: Provides feedback on hip and shoulder separation.

- What to Do:
- Hip Rotation Drills (3-4 times per week): Practice drills that focus on rotating your hips correctly during the throwing motion. The goal is to create separation between your hips and shoulders.
- Full Body Movement Drills (2-3 times per week): Use the Throwing Club to practice the coordinated movement of your legs, hips, torso, and arm in the throwing motion. Focus on a smooth transfer of energy.
- Core Stability Exercises (3 times per week): Incorporate exercises like bird-dogs to strengthen your core muscles, which play a vital role in stabilizing your body during the throw.
Component 3: Smart Throwing Practices
- The Need: Gradually increasing throwing intensity and volume allows your arm to adapt and avoids overloading it.
- Tools from Oates Specialties (Optional):
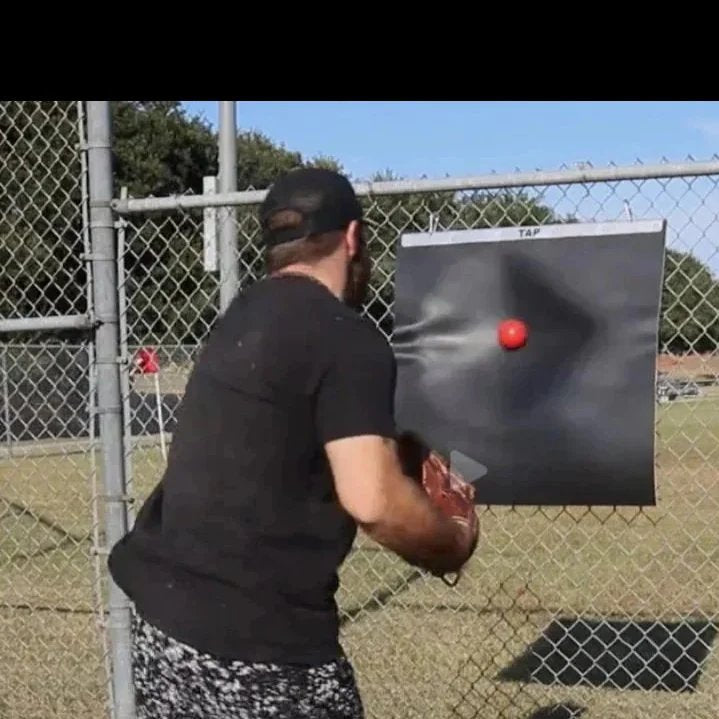
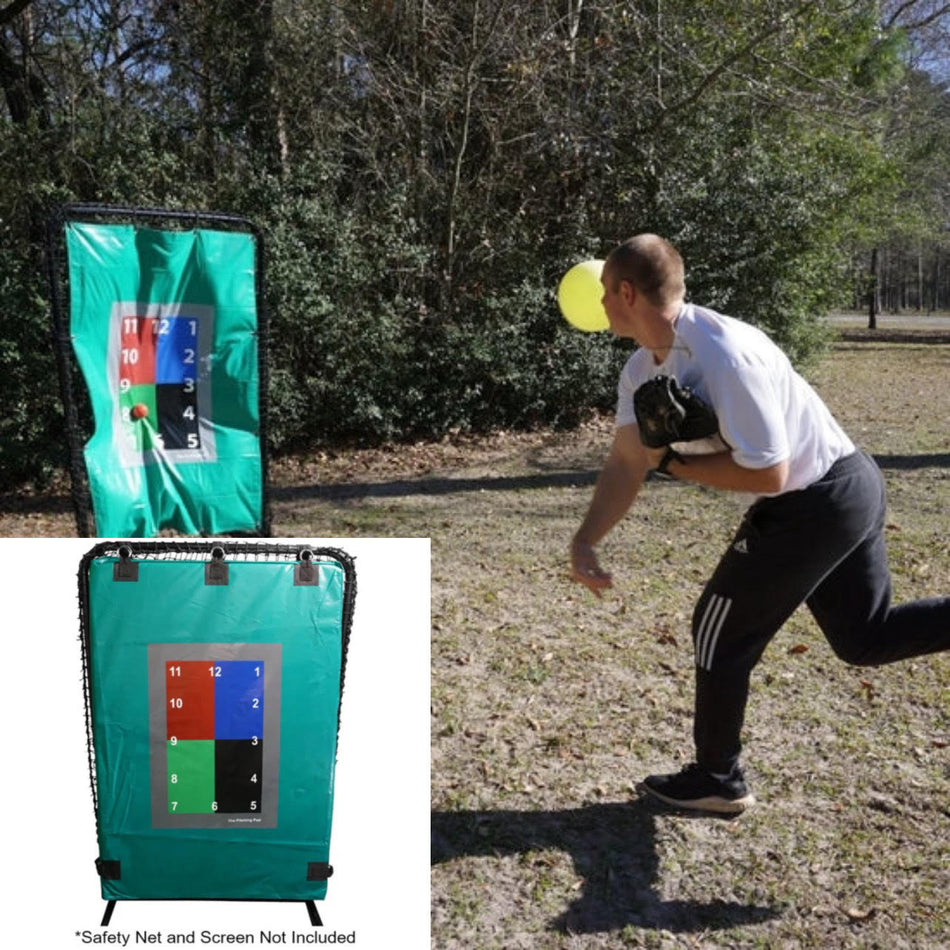
- TAP® Weighted Balls: Can enhance feel and proprioception during throwing.

- Throwing Sock: Helps reinforce proper throwing mechanics with reduced stress.

- What to Do:
- Gradual Progression: Increase your throwing intensity slowly over time. Avoid sudden jumps in workload.
- Listen to Your Body: Pay attention to any pain or discomfort and adjust your throwing accordingly.
- Focus on Mechanics: Use lighter throws or a throwing sock to focus on proper technique without putting maximum stress on your arm.
- Long Toss (1-2 times per week in-season): Gradually increasing your distance to build arm strength, but always prioritize good mechanics. Adjust based on how your arm feels.
Component 4: Recovering Effectively
- The Need: Giving your arm the time and support it needs to recover after throwing is essential for long-term health.
- Tools from Oates Specialties (Optional):
- Rocket Wrap (Compression Floss): Can be used for active recovery by applying compression while moving.

- Sheathed Resistance Tubing: For light, low-intensity movements to promote blood flow.
- What to Do:
- Active Recovery (within 90 minutes after throwing): Perform light movements like arm circles or gentle resistance tubing exercises to promote blood flow and reduce stiffness.
- Targeted Mobility Work (within 90 minutes after throwing): Revisit your shoulder stretches to address any tightness that may have developed during throwing.
- Listen to Your Body's Recovery Timeline: It's normal to feel some fatigue after throwing, but persistent soreness lasting more than a couple of days could indicate you need more rest.
Making the Program Work for You
Remember, every athlete is different. Pay attention to how your body responds and adjust the program as needed.
- Age Matters: Young players should focus more on proper throwing mechanics and basic mobility. Older players can incorporate more advanced exercises gradually.
- Position Plays a Role: Pitchers will have a higher throwing volume and need a more comprehensive program than position players, who can focus more on general mobility and kinetic chain efficiency. Catchers may need extra attention on recovery.
- Listen to Your Body: If you have specific areas of tightness or weakness, focus more on exercises that address those issues.
Tracking Your Progress
Monitoring a few key things can help you understand how your arm is doing:
- Shoulder Range of Motion: Regularly check how far you can rotate your shoulder inward. A significant decrease could be a warning sign.
- Recovery Time: Notice how long it takes for your arm to feel fresh after throwing. Longer recovery times might indicate overwork.
- Throwing Performance: Pay attention to your throwing velocity and accuracy. A consistent drop-off could be a sign of fatigue or underlying issues.
- How You Feel: Be honest about any pain, soreness, or stiffness you're experiencing.
Conclusion
Taking care of your arm doesn't have to be complicated or expensive. By understanding the science behind throwing injuries and consistently applying these simple, low-tech strategies, you can significantly reduce your risk of arm problems and stay on the field doing what you love. Remember, consistency is key. Just like regular practice improves your skills, regular arm care protects your most valuable asset.
Disclaimer: This information is for general guidance and educational purposes only and does not constitute medical advice. Consult with a qualified healthcare professional or athletic trainer for personalized advice regarding injury prevention and treatment.